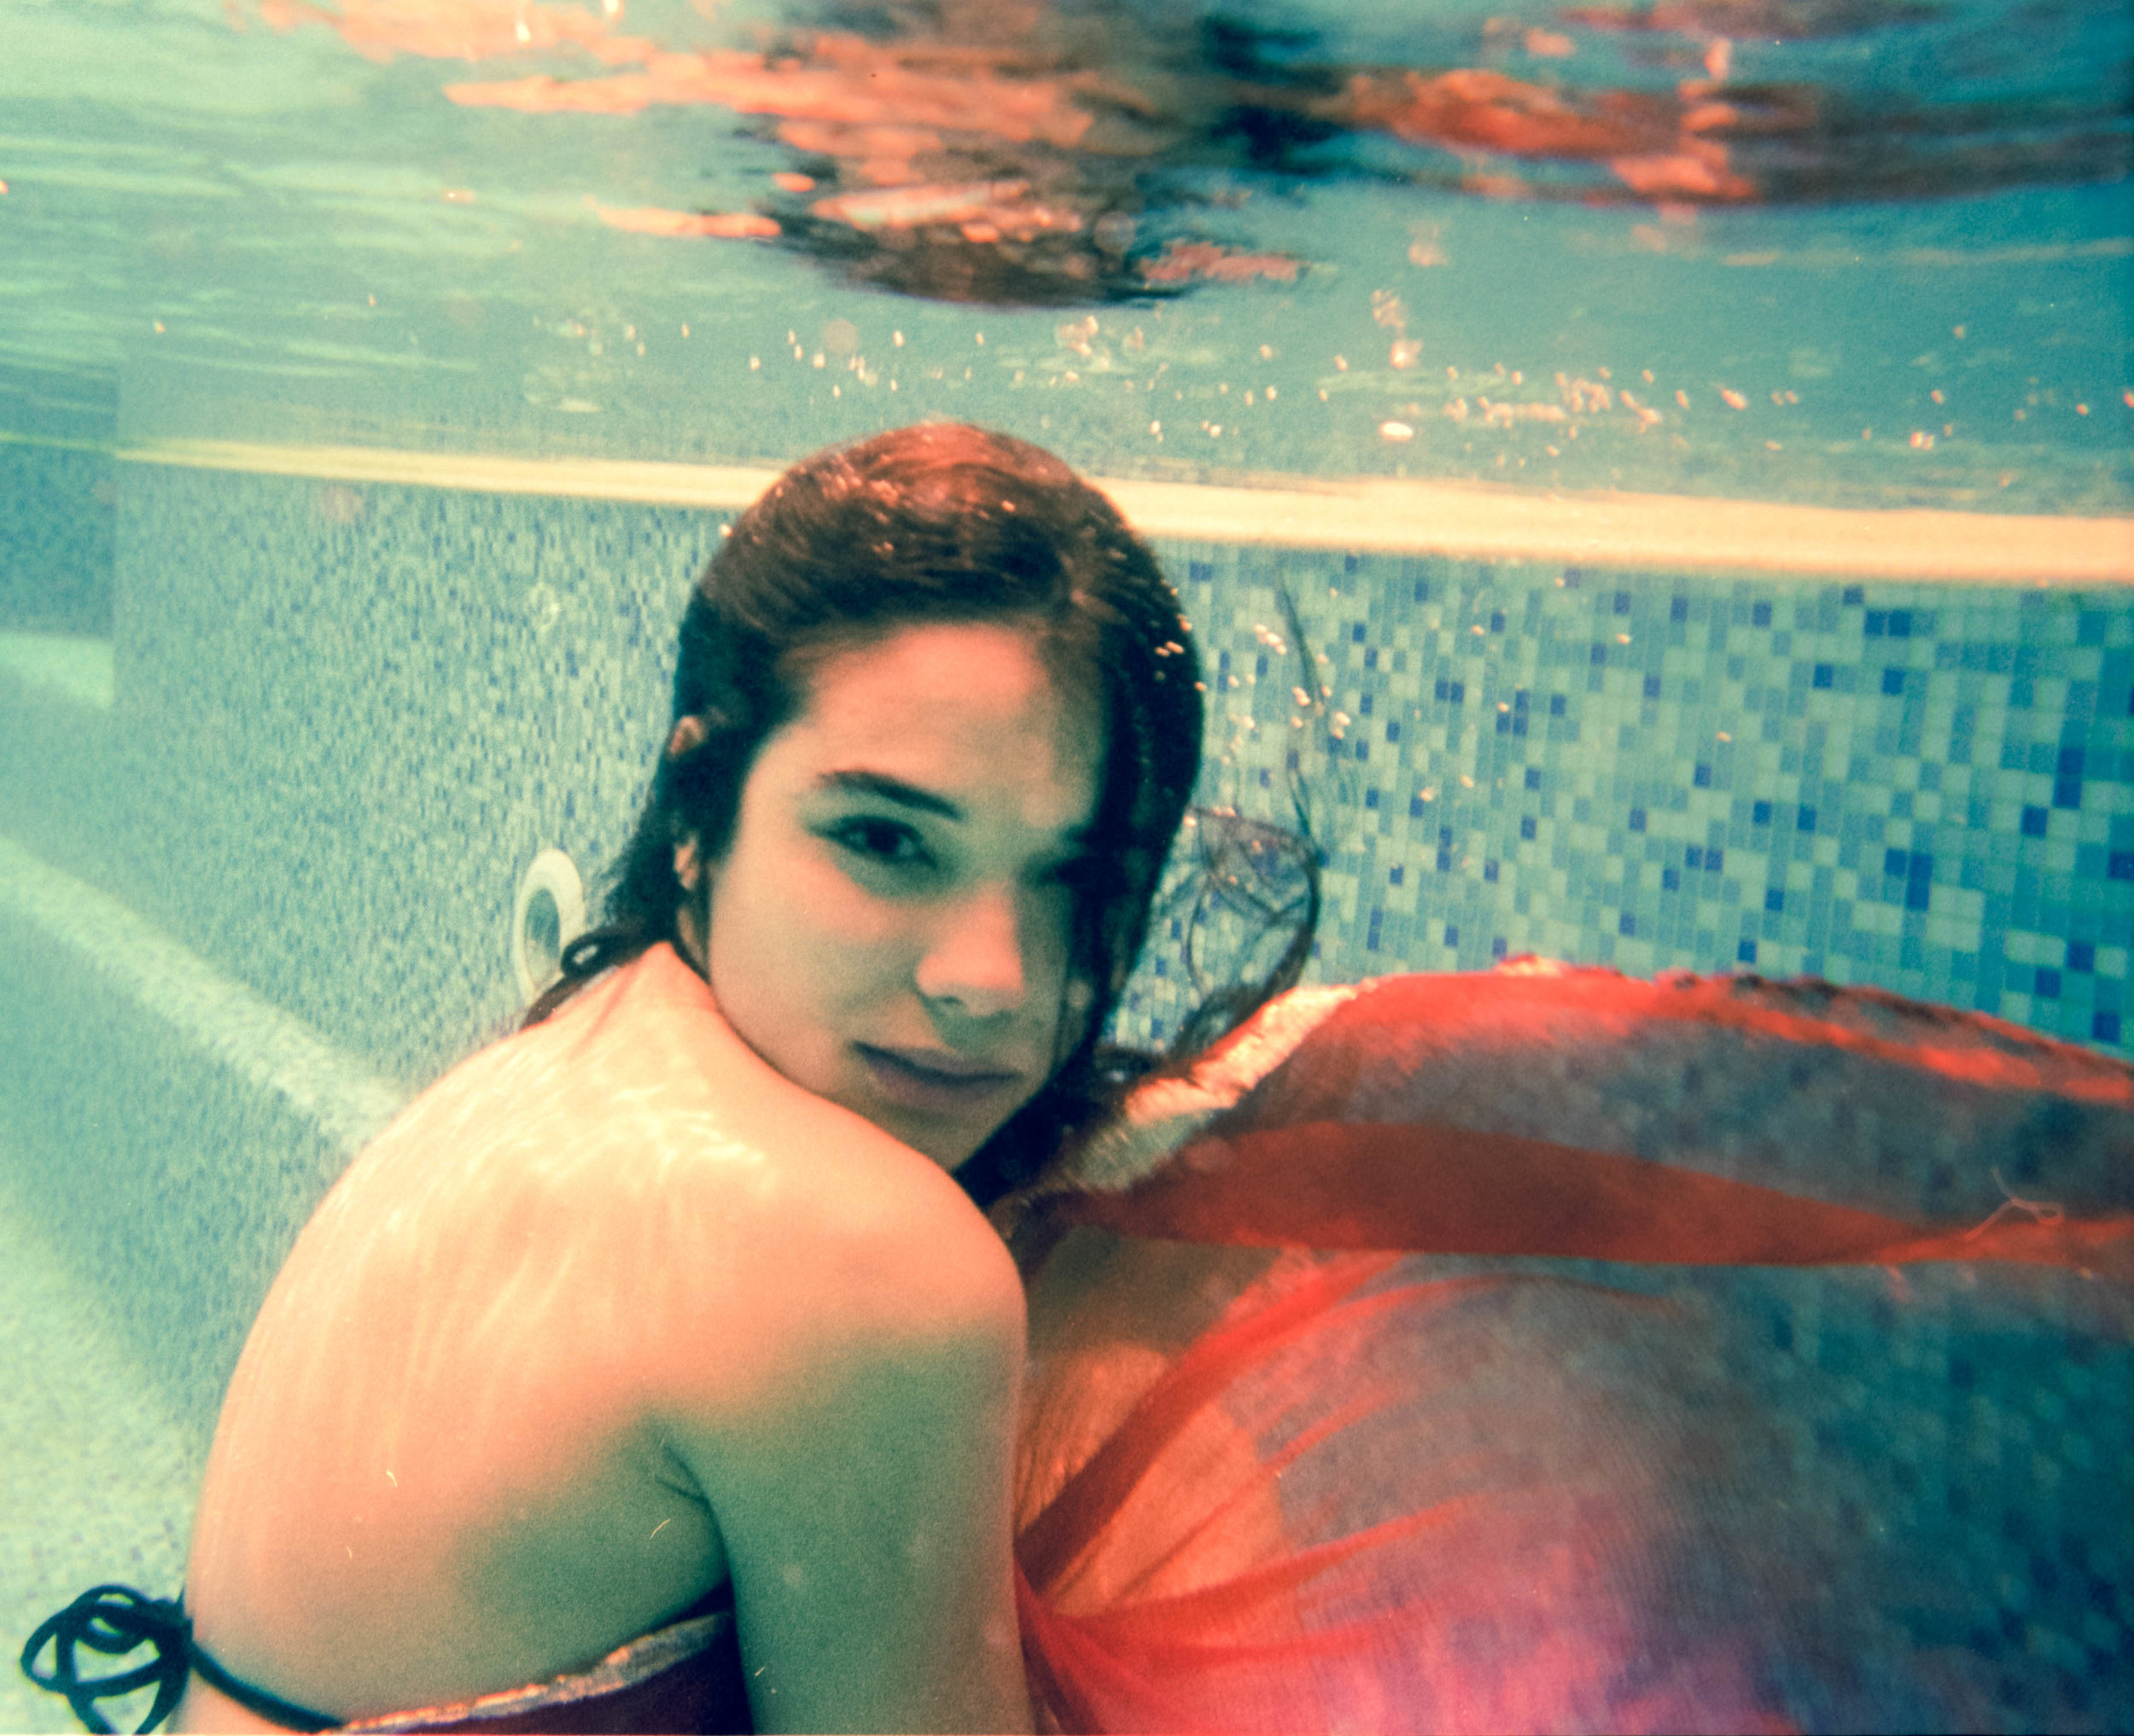
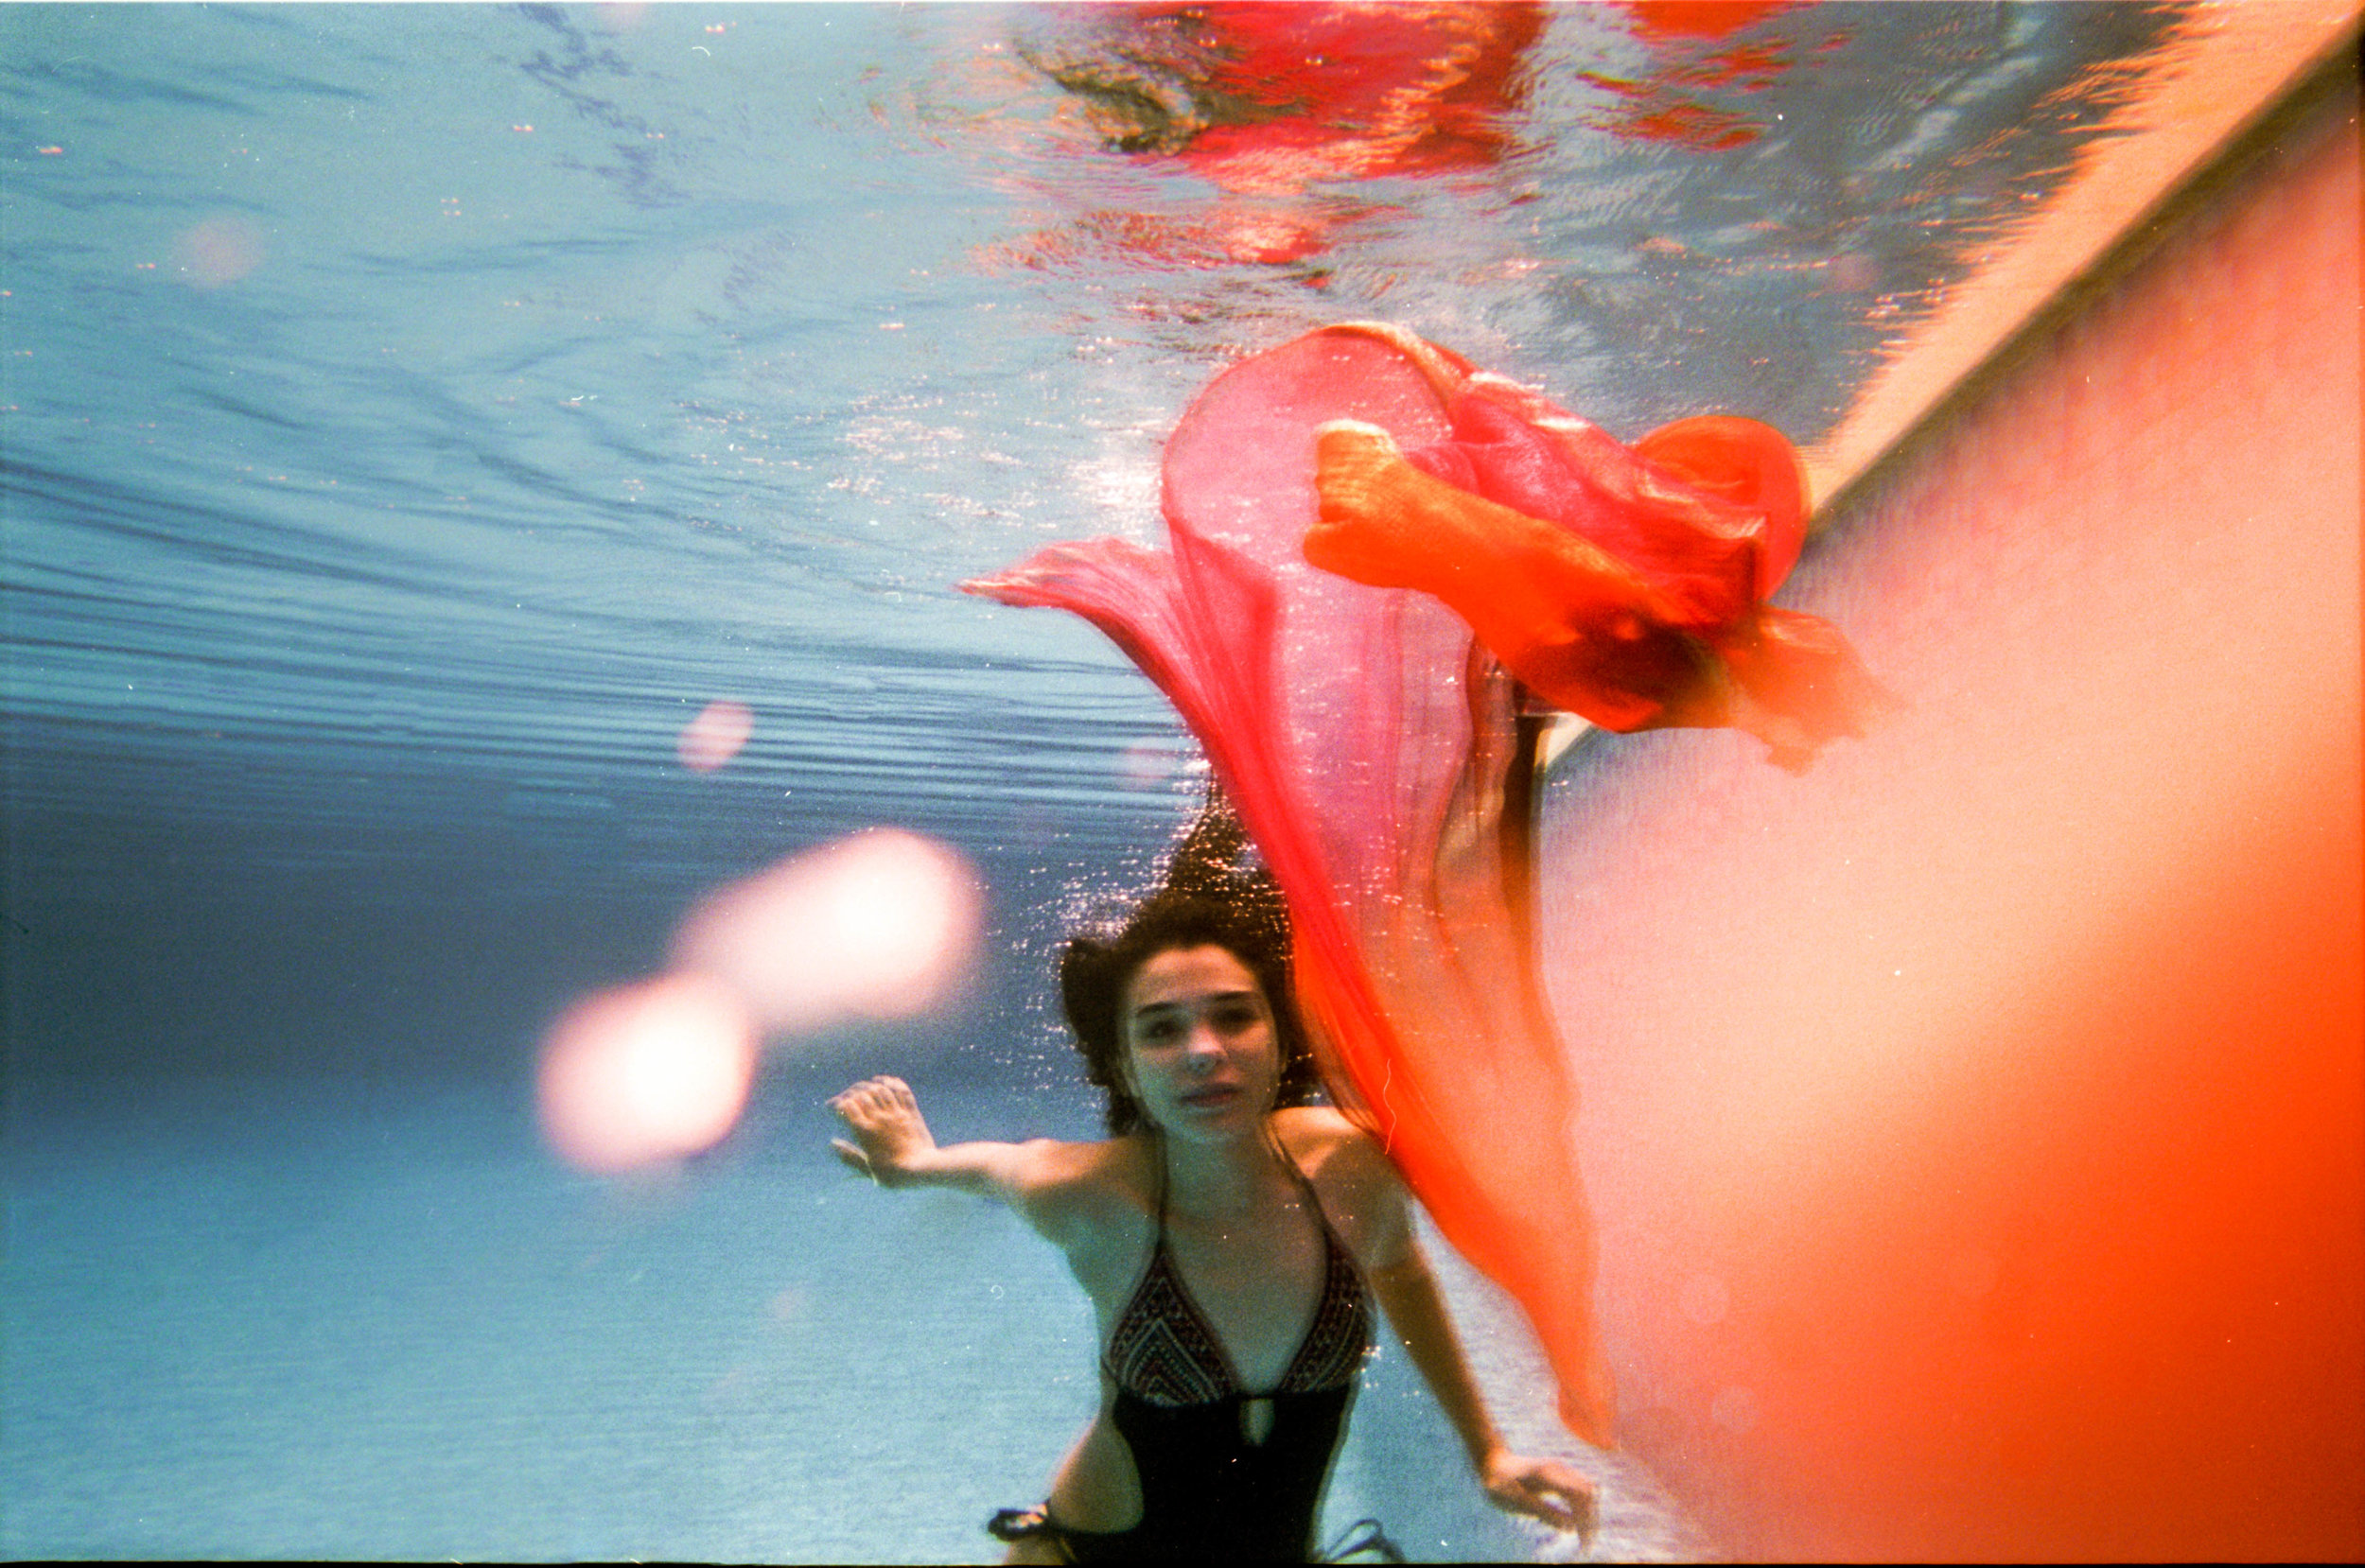
I spent the whole day today in the darkroom of London College of Communication, University of Arts London. This was very different from my usual days of spending time in front of my laptop working on Adobe Photoshop and Lightroom. The college has the best of faculty and access to top-notch facilities allowing me to try absolutely anything. As a student of photography in the digital era, I must admit, stepping into the the darkroom was exciting as well as scary. A photographer is tuned to look into the details of daily life, the patterns, the colors and much more, and his eye being the most important sense organ of all. When you have finished taking that photograph on film and you step into that darkroom, that very sense is lost, awakening all the other senses.
Today I learnt how the different combinations of yellow, magenta and cyan filters affect a photograph and how the variation of these 3 elements can give solutions to the color printing problems you face.
Things you need to remember to correct a color cast,
- Too magenta - Increase the value of magenta filter
- Too green - Decrease the value of magenta filter
- Too yellow - Increase the value of yellow filter
- Too blue - Decrease the value of yellow filter
- Too cyan - Decrease the value of yellow and magenta filters
- Too red - Increase the value of yellow and magenta filters
Remember,
The higher the value of a particular filter the more the color is filtered out, for example, if a photograph has too much magenta, an increase in the value of the magenta filter increases the amount of magenta that should be filtered out to give the correct color cast in the picture.
Hope you learnt something, because I surely did.
Shoot away. Happy clicking!


